Quick Start
A step-by-step guide for first-time users, from sign-up to project creation.
Sign Up
You can start using every NeoSQL feature right away with a free account. Sign up with email and password, or with a social account such as Google, Kakao, or GitHub. All sign-up steps happen on the website — if you click "Create Account" inside the desktop app, the website's sign-up page opens automatically in your default browser.
Open the sign-up page
Click "Login" in the top right of the NeoSQL website and follow the "Sign Up" link at the bottom of the dialog, or choose "Sign Up" from the desktop app's start screen. On the sign-up screen you can switch freely between social sign-up buttons and the email sign-up form.
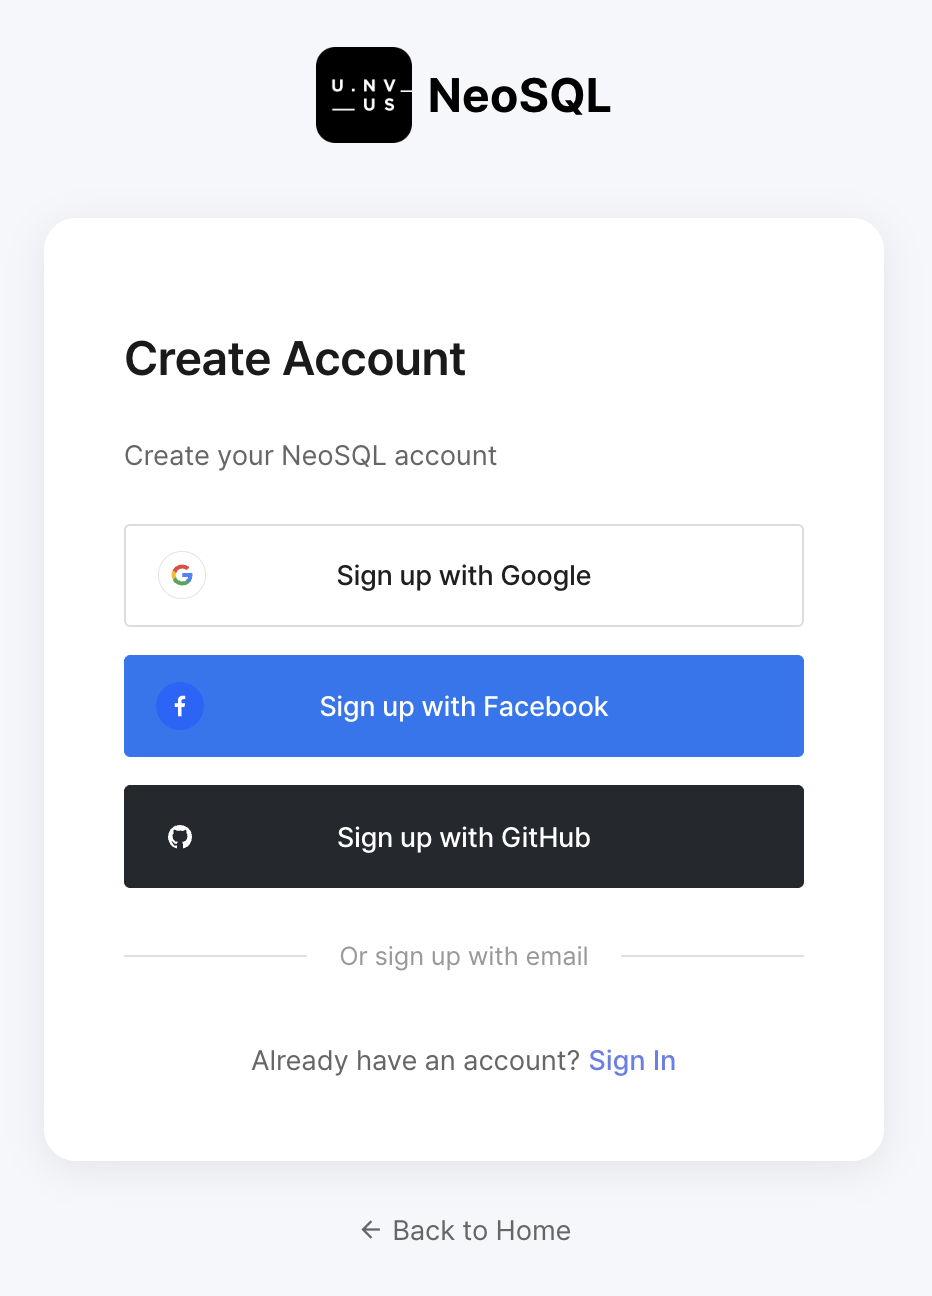
Choose a sign-up method
Pick whichever option fits you better. Email sign-up asks you to enter an email address and password directly, and then requires a one-time verification by clicking the link in the email we send. Social sign-up (Google, Kakao, GitHub, and so on) only asks you to authorize the provider — once OAuth completes, sign-up and login happen at the same time without any extra information or email verification.
Email verification (email sign-ups only)
If you sign up with email, a verification message is sent to the address you entered. Clicking the verification link in that email finalizes your account and automatically opens the sign-up complete page. If the link has expired or you can't find the message, return to the sign-up window and use "Resend verification email" to send it again.
For the full walkthrough — sign-up flows for each method, resending verification email, and what happens after sign-up — see the Sign-up guide guide.
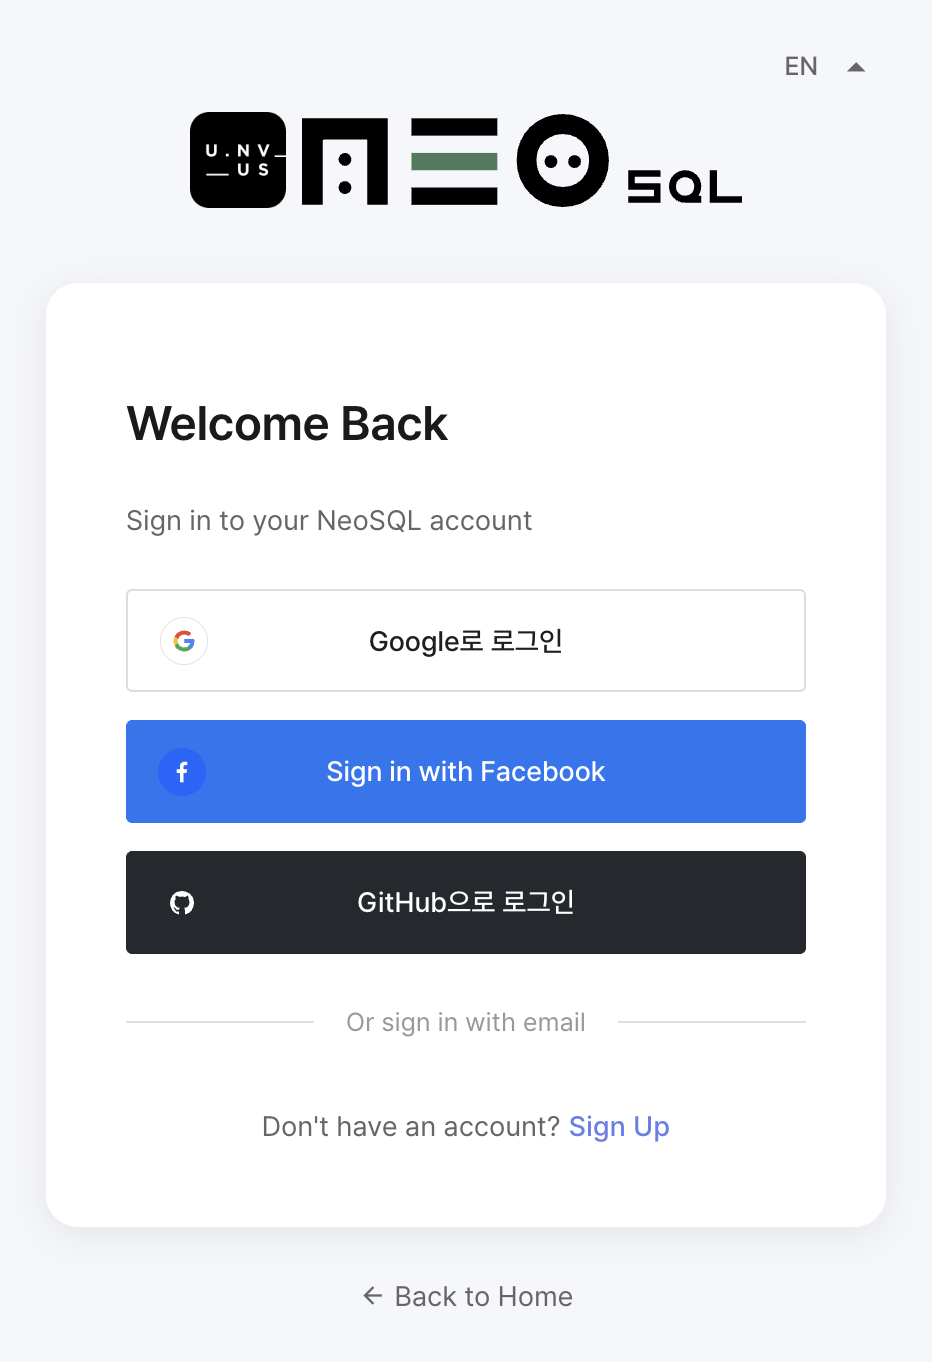
Login
Sign in with the account you registered. All sign-in steps happen on the website — if you click "Sign In with Browser" inside the desktop app, the website's login page opens automatically in your default browser. Email users sign in from the login screen after completing email verification, while social users are already logged in right after sign-up.
Build your first ERD in 5 minutes
You can browse ERDs that others have published in the public gallery without signing up, just to get a feel for the NeoSQL canvas. Once you want to draw your own, signing in and starting a project with the sample ERD option is the fastest way to get going.
Browse sample ERDs in the gallery (no sign-up)
Open the public ERD gallery and click any published ERD to view it in the canvas viewer — no account required. See how others express tables, relationships, and indexes, and use any design you like as inspiration for your own.
To draw your own — start a project with the sample ERD option
Creating a project with the sample ERD option opens a ready-made ERD — complete with columns, keys, relationships, and groups — instead of an empty canvas, which is the fastest way to learn NeoSQL's ERD workflow. The flow is:
- Click "New Project" on the dashboard to open the project creation dialog.
- Enter a project name and choose the database engine you will work with (MariaDB, MySQL, PostgreSQL, Oracle, and so on).
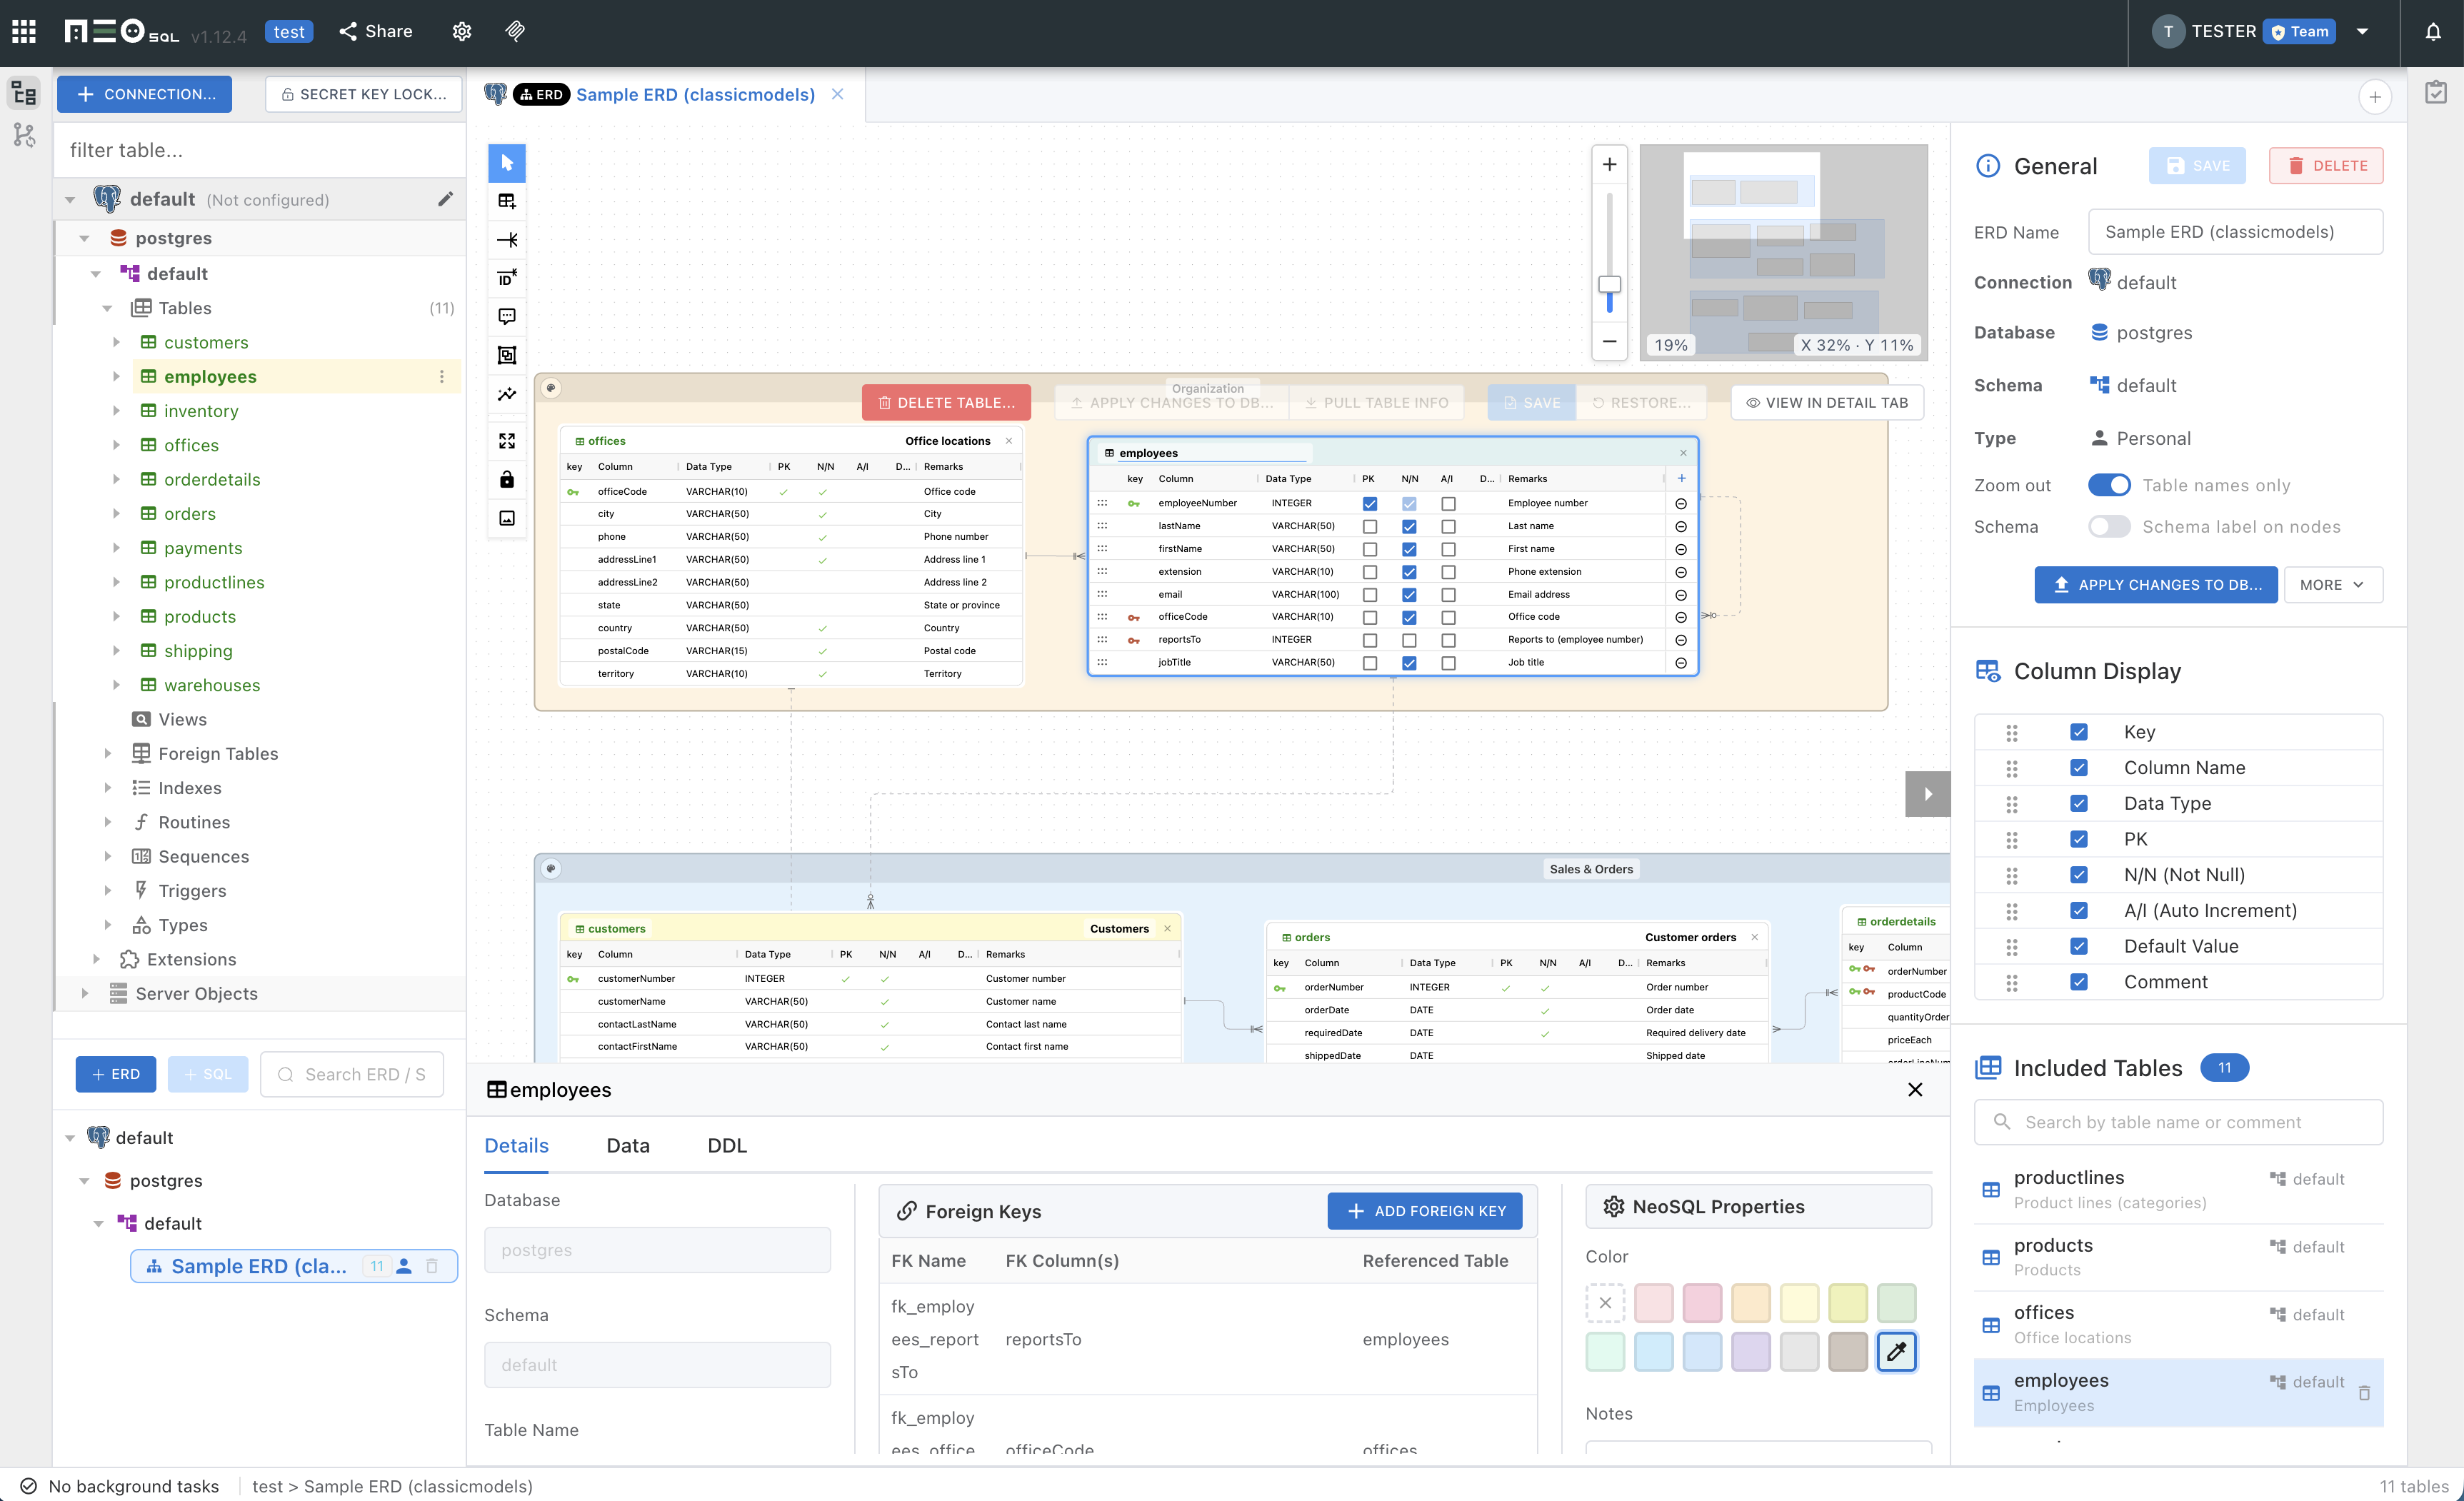
- Check the "Create Sample ERD" option and click "SAVE". An ERD pre-populated with the "Organization", "Sales & Orders", and "Products & Inventory" sample table groups — along with the relationships between them — opens immediately.
Click the sample tables to see how columns, PK / FK, and relationship patterns are expressed, and tweak parts of it. For the rest of the project options and the project edit / delete flow that follows, see the Create/Edit/Delete Project guide.
Create your first tables, columns, and relationships on the canvas
Follow this flow to finish your first ERD in about five minutes.
- Click the "Add Table" icon in the left toolbar and click the spot on the canvas where you want the new table — a node is placed there.
- Click the new table node to activate its column grid. Click the + icon at the far right end of the column grid header, or press Cmd / Ctrl + Enter while the grid has focus, to add a new column — then fill in the name, type, PK, and N/N flags.
- To create a relationship, use the relationship-line tool from the toolbar, or drag a column from one table onto another to generate the FK automatically.

See the Table Node guide for adding table nodes and editing columns, keys, and constraints; see the Canvas Basics guide for canvas navigation, zoom, layout, and the overall ERD workspace.
Connect your first database (MySQL / PostgreSQL example)
You don't need a connection just to draw an ERD, but you do need one to import an existing schema (Reverse Engineering) or apply ERD changes back to a real database (Forward Engineering).
Host / port / credential setup for every supported database — MySQL, PostgreSQL, Oracle, SQL Server, MariaDB, SQLite, H2 — plus SSH tunneling and private mode, is covered in detail in the Create DB Connection guide.
Run your first SQL & explore the results
Once a connection is configured, you can write queries directly in the SQL Editor and inspect results as a grid. Autocomplete, multiple result tabs, query history, and JSON / CSV export are all built in.
Opening the SQL Editor, the run shortcut (Cmd/Ctrl + Enter), working with the result grid, and the dangerous-SQL guard that prevents accidents on production databases are all covered in the Get started with SQL Editor guide.
Import your first tables into an ERD (Reverse Engineering — drag & drop)
If you already have a running database, you can pull its schema straight into an ERD and visualize / document it in minutes. There's no separate "Reverse Engineering" button — you just drag tables from the sidebar onto the ERD canvas, and that workflow is what makes NeoSQL fast.
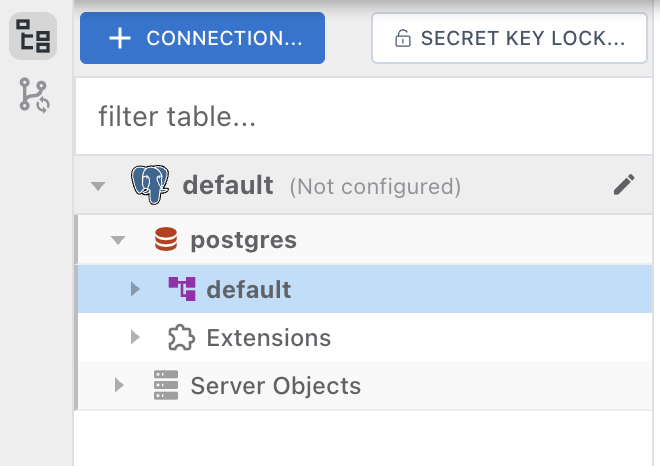
Find the tables you want in the connection tree
Expand a connection in the left sidebar to see the schema → table tree. Open the schema you want and decide which tables to pull in. The search box at the top of the sidebar filters tables by partial name, so you can locate them quickly.
Drag & drop tables onto the ERD canvas
Grab a table and drop it onto the canvas — its columns, PKs, FKs, indexes, and constraints all come along. For a single table, just drag it; to bring several at once, hold Ctrl(Cmd) + click in the sidebar to multi-select them, then drop the selection onto the canvas. FKs between tables you drop together are connected automatically as relationship lines. If dragging is awkward, right-click a table in the sidebar and choose "Add to ERD" — it's placed at the current viewport center.
Bring in only the tables you need
Rather than importing an entire schema in one go, pull in smaller domain-sized slices. Dropping multiple tables at once arranges them in a vertical column automatically, and any table already in the ERD is skipped instead of duplicated, so you can add freely. Note that a single ERD can only hold tables from the same connection and same schema.
Importing an entire schema at once, using Auto Layout after import, and splitting an imported ERD into groups are all covered in the Import / Reverse Engineering guide.
Publish to the gallery
Publishing a finished ERD to the public gallery makes it viewable by anyone — great for portfolios or teaching material.
Open the "More" dropdown at the top of the ERD info panel on the right side of the workspace, and choose "Publish to Public" to attach a title, description, tags, and more, and put the ERD on the public gallery. Published ERDs are viewable by anyone without signing in, which makes them great for portfolio pieces or teaching material. After publishing, the same menu changes into "Update Gallery" (push the current ERD back to the gallery) and "Unpublish" (take it down), so you can edit or retract the publication at any time.
Gallery publishing options and how to embed an ERD into external sites via the embed viewer are covered in the Gallery & Embed Viewer guide.
Where to go next
If you've followed along this far, you've already touched every core part of NeoSQL. Pick the next guide based on what you want to work on.
Create ERD
Create a new ERD and design tables.
Connect Database
Connect to an existing database to import schemas.
Work with SQL Editor
Write queries, explore results — the essentials of the SQL Editor.
Reverse Engineering
Import tables from an existing database to visualize and document them quickly.
Explore AI features
Use AI to speed up table design, query writing, and documentation.